|
| the corn is being cut; fall is here! |
 |
| Rickye's garlic |
 |
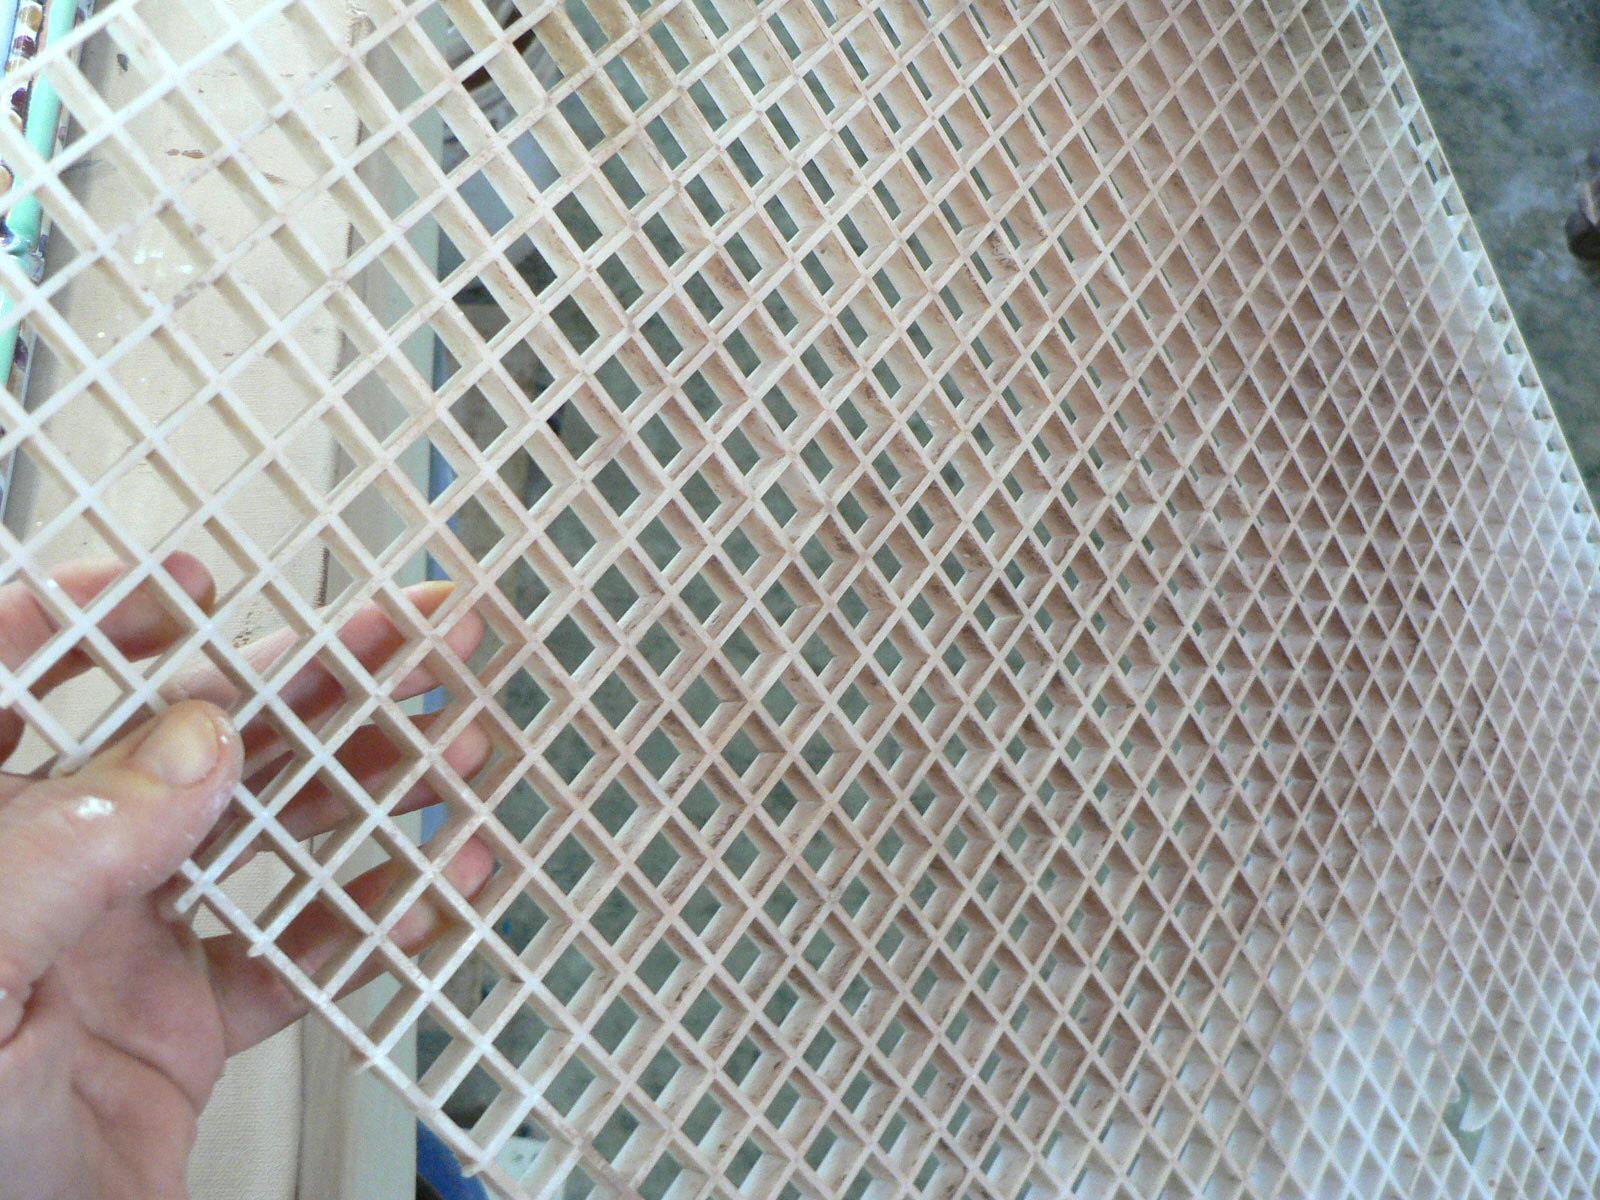
| Peter's ginko trees |
....there is a changing area which evolves, year by year, depending on what I have to throw into the ground, and how energetic I feel about weeding it. It's not the organized plan that our son, Pete, did in the 90's, just north of the sheds, laid out with brick paths and planted with all sorts of cultivars of kale, tomatoes, mesclun, beans, peas, mustard greens, grapes, ( a handful, compared to all that was planted), and whose compost pile has inspired the yunomi pots for the Akar Gallery (see the link:
http://anntubbsmaiolicapottery.blogspot.com/2009/12/getting-ready-to-decorate.html). This garden, behind my studio, no one sees but me, and the occasional farmer plowing or taking in the corn (and I doubt that they're paying much attention to this little area, while driving). I planted a wild cherry to the west side, so there is shade, and a sage 'bush' grows underneath it, and some rescued roadside sunflower-type plants struggle, and straggle along the wall, under the window. On the other side is a viburnum bush, whose berries have inspired decorations, and a tomato patch, with some cilantro that will winter over if I put a semi-clear plastic box over it. In the spring (this year? last? two years ago?) I planted all the unnamed, leftover seeds that had been residing in a box out in the laundry room. I'd hated to simply throw them out; they were from Peter's plantings! So I began planting them in the area behind the studio--a sort of 'setting out' garden. Then, this fall, while clearing the area out so I could plant the wonderful garlic given to me by a friend and customer, Rickye Heffner, I uncovered four or five baby ginko 'seedlings'! Who knew? (and now, I believe these ginkos were actually from the memorial service for Dr. Robert Brundage, a wise and gentle man from Toledo,OH, who died several years ago--and on the memorial program was a ginko seed--I collected Bruce's, Pete's, mine, and probably several others--Here's to you, Robert!