 |
| the tiles for the table, laying out on the actual surface |
I'm putting together another table--this one is an order from a good customer who already has had me redo another round table, similar in decoration to this one, and has asked for a re-working of one of her coffee tables. I took off the existing top, and had a baltic birch piece of 4/3" plywood cut for me, at Toledo Plywood. Then I painted it, top and bottom, with a latex black. I'll mastic the tiles onto the table with a vinyl product.
The tiles are cut with a 4" by 4" tile cutter (see previous blog entry:) and dried, flat, between sheets of gypsum board. They are laid out, after bisquing and glazing, in the form of the table, and then decorated. Edge tiles were extruded, and cut with the same tile cutter. I need to decorate and fire more of the little strips before I can glue the tiles down (b.)
 |
| (b.) black areas are the underlying board; I'll need to make more of the strips |
 |
| (d.) extra leaves |
 |
| (c.) leaves, instead of a tile, for interest |
 |
| (f.) little spacer tiles and unglazed strips |
 |
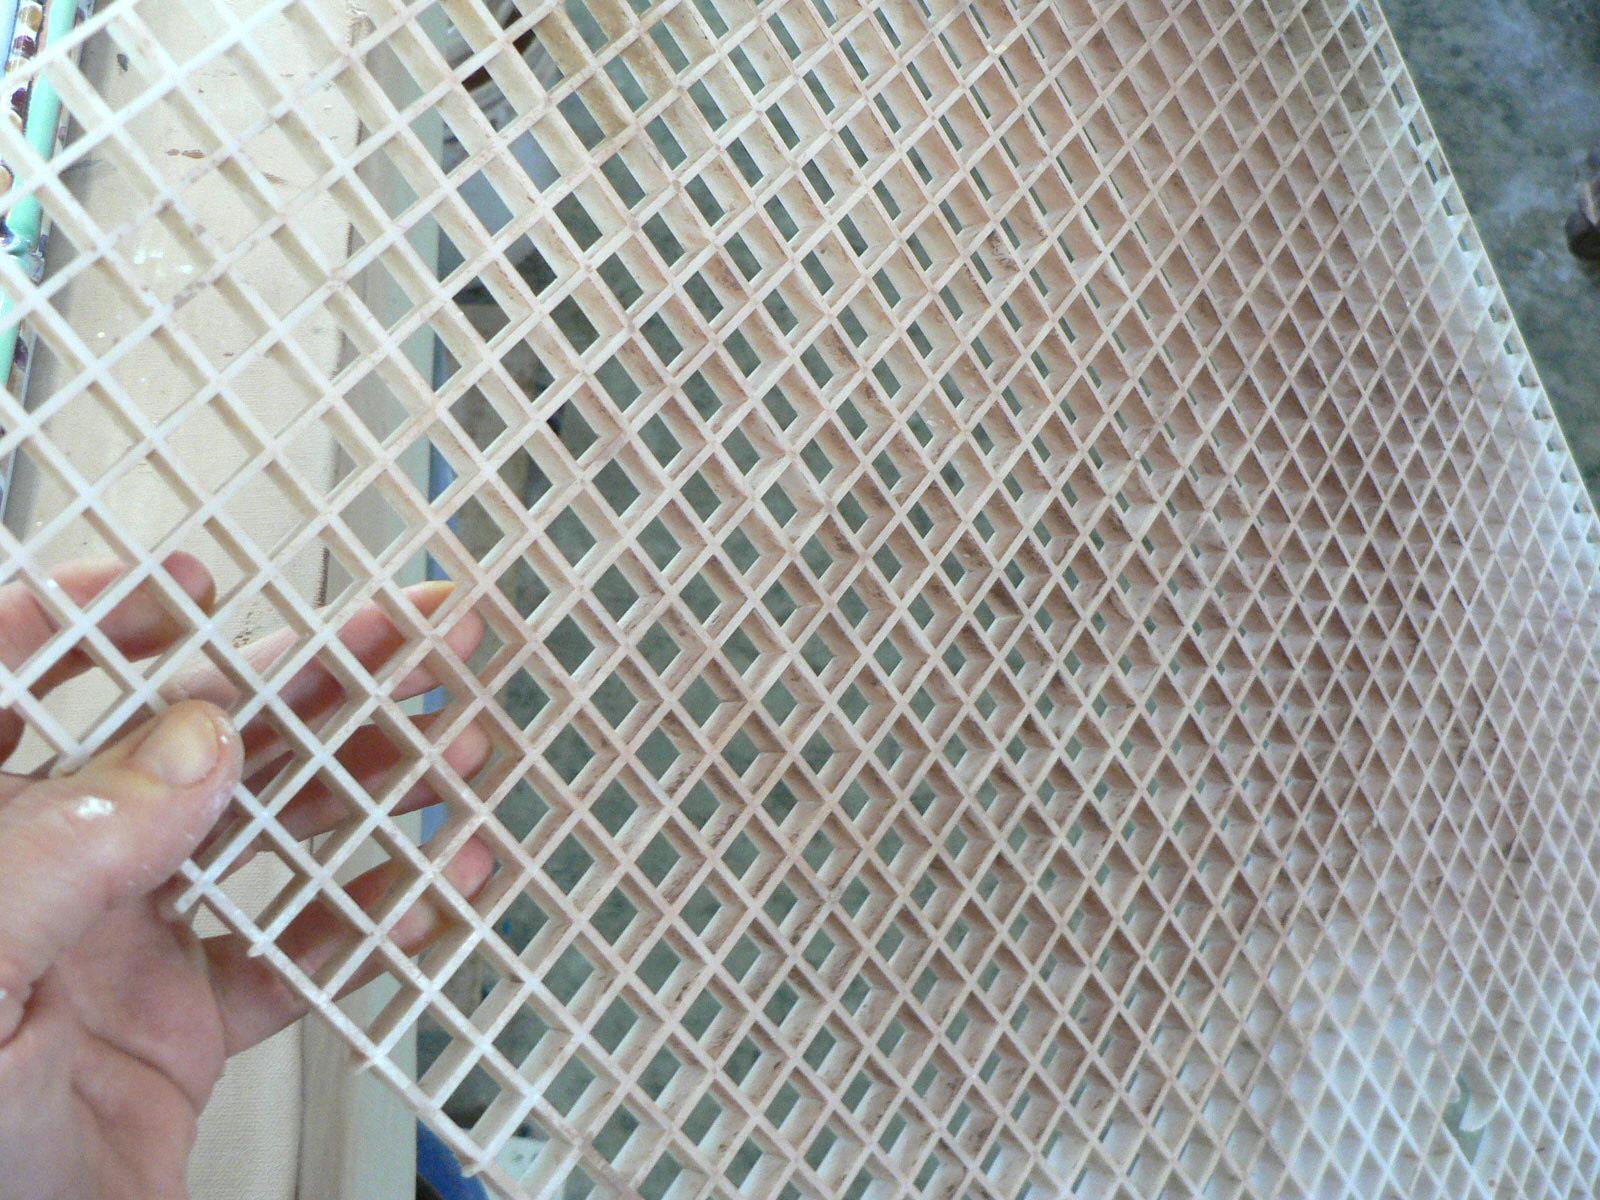
| (e.) egg crate, from fluorescent lights: the template for the little square tiles |
Here and there, to break up some of the 4-squaredness, I try out the insertion of some of the leaves(c.) which I make and save for tile projects (d.) I also press clay into 'egg crate--the plastic 'screen' (e.) which covers a fluorescent fixture. As the clay dries, the little squares drop out. I bisque them all together in a bowl, and then wax and dip each one into the glaze. Then, with tiny brushes, I decorate the top. It reminds me of tiny petit-four cakes. (f.) The unglazed strips are the cut-offs from the 6 by 6" tiles,which are too big to fit into a commercially made wooden frame. I have to cut 1/4" strips off of each side. If I can keep these strips straight, then I can use them for fill-in strips when a glazed thin tile would be too wide.


No comments:
Post a Comment