 |
| this first form was cast from a flat pan (seen to the right) |
 |
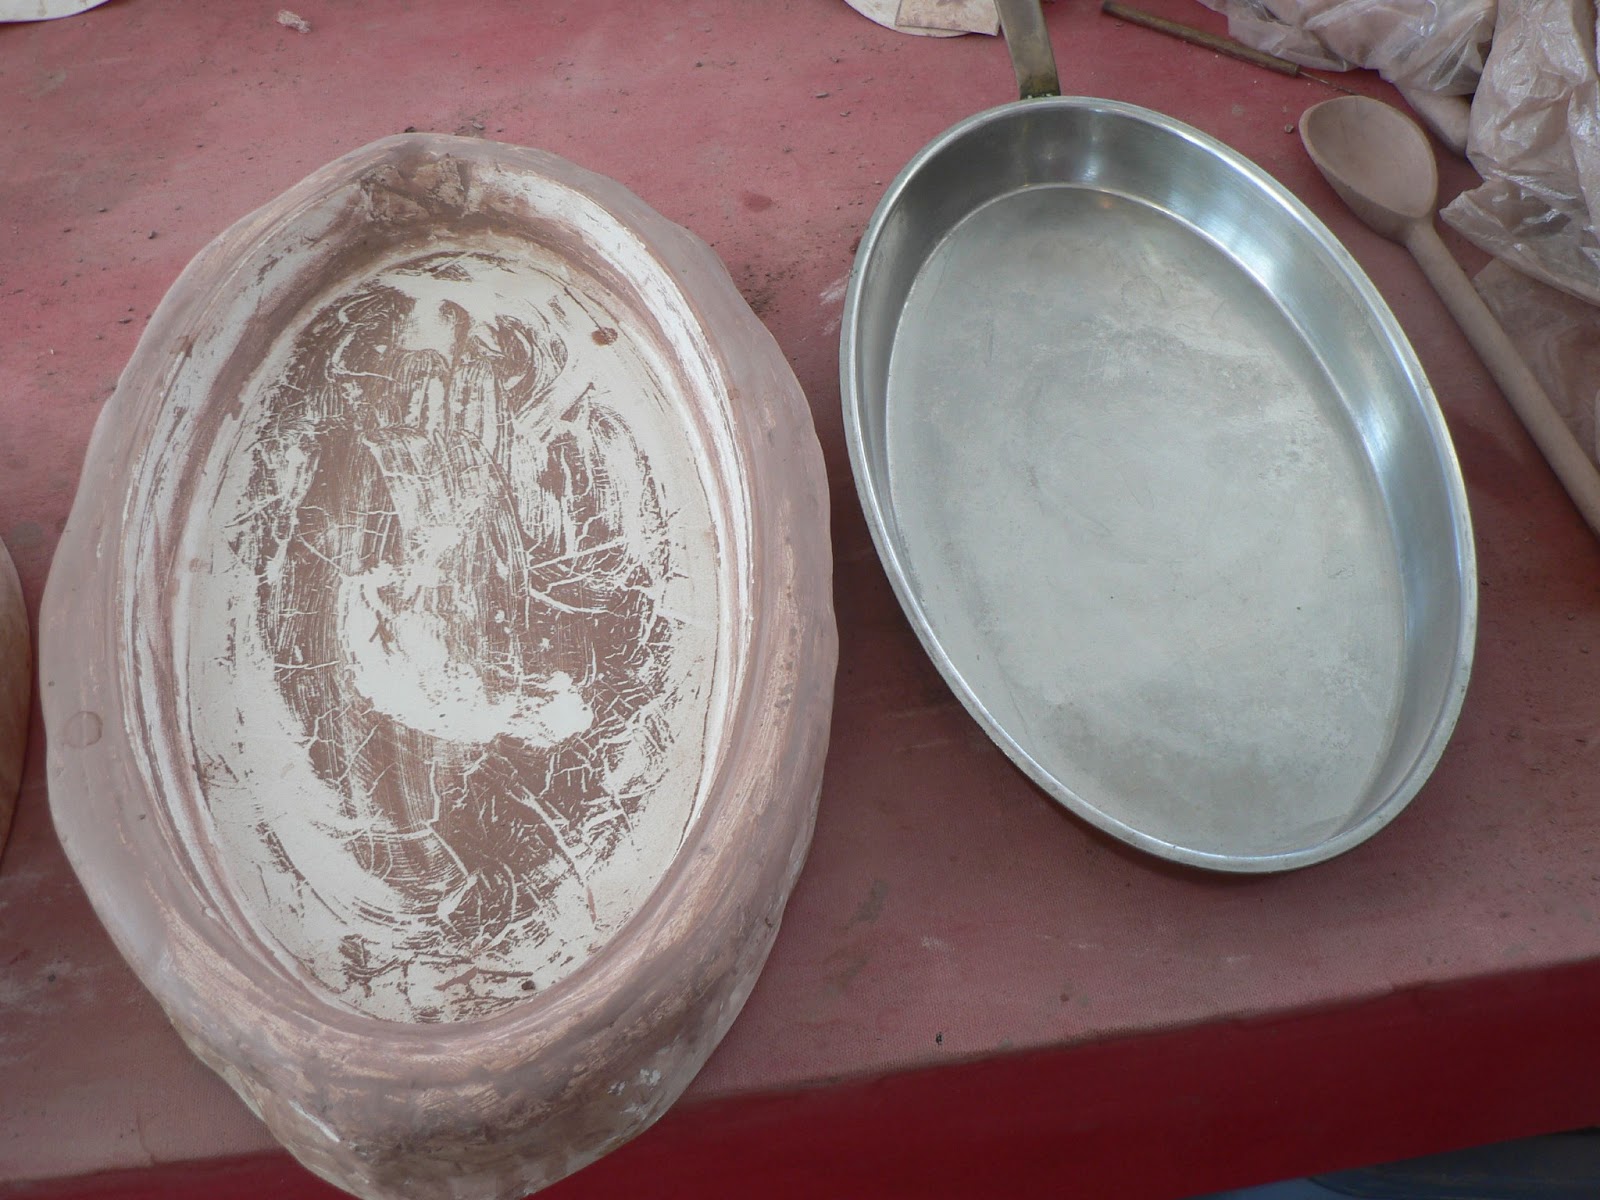
| some of the oval shapes I work with; the one on the right is the commercially made mold |
In the following 3 or so posts, I will be talking about constructing an
oval, flat-bottomed form which could be used as a casserole without a
lid (though a lid could be added). I'm intrigued by the oval because it is not something which can be made
on the wheel (unless you intentionally distort the form after it is
thrown). I'll start, here, with some of the
forms which I make using a plaster mold. One of the molds was a
commercial shape; the rest are forms which I have cast, myself. All the
patterns for cutting the clay to put into the mold were made after the plaster mold was finished.
In order to make the patterns, I first work with a lightweight paper like newsprint. To start, I push a slightly larger oval piece of paper into the bottom of the mold. Then I run my fingers around the outer edge of what I perceive to be the bottom until I can see where to cut the oval base shape. Then I take a pencil and draw the cutting line, and then cut the shape, itself. I then do the same thing with one-half of the side. The shape of the side is something like the shape of a lampshade that is laid out on a flat surface. It's like a rhomboid (OK, not really, but...) with a curved top and bottom edge. These first thin paper patterns are done on a trial basis, and, after using them to cut out the initial clay forms, and after pressing the clay forms into the plaster mold, adjustments can be made so that the pieces fit together more precisely. The third image, here, below, shows the final patterns, (along with one of the finished and fired pieces). The final pattens are made from a sort of plastic paper: impossible to tear, and fairly easy to cut with sharp scissors. It was 'paper' given to me when I was a den mother for Pete's cub scout group. I was never able to figure out what to do with it with the boys, but, years later, I discovered that it made good patterns for cutting out clay shapes. It's strong enough to be laid on wet clay without wrinkling up, and strong enough to have a needle tool run around its outside edge, over and over, without distorting. In the next post, I'll show how the clay is cut and placed into the plaster mold.
 |
| Here is the mold (which I call 'long'), with its patterns, and with the finished pot | | | | |


No comments:
Post a Comment